Mural Painting with the Grid Method: Complete Scaling Guide
Step-by-step guide to scaling reference images onto walls using the grid method. Includes math, materials, layout planning, common mistakes, and a real-world case study from a 24-foot mural.
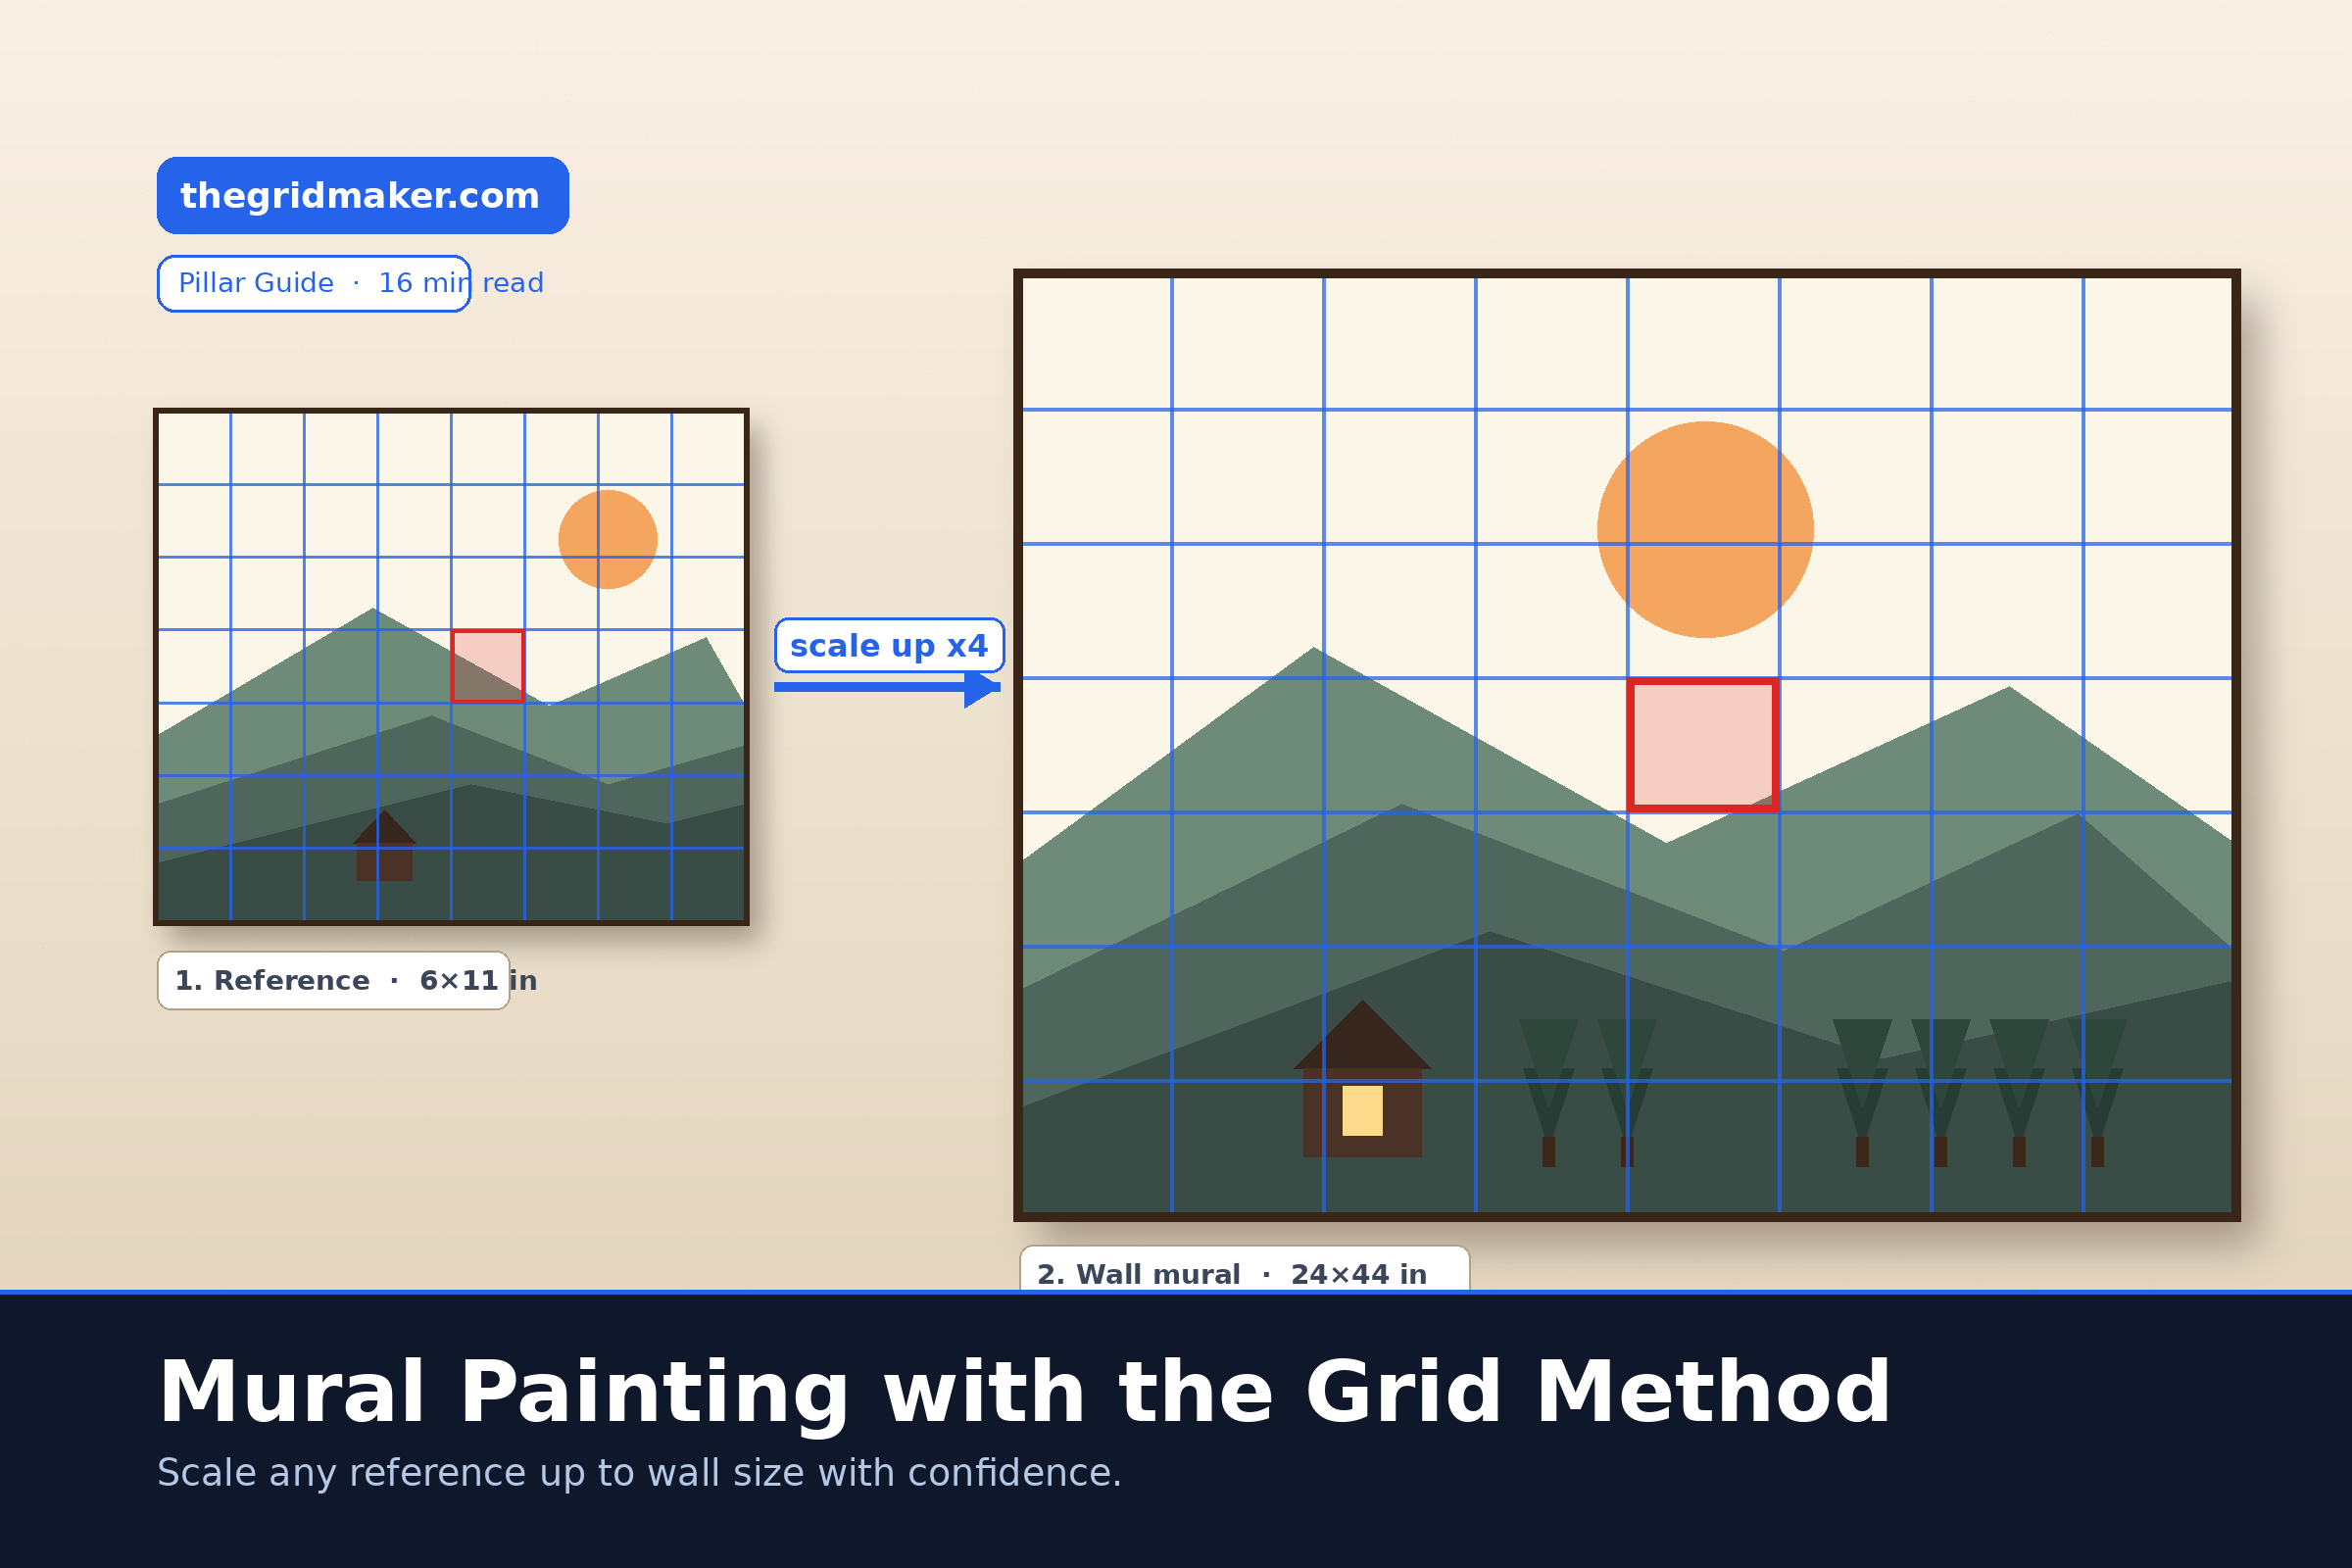
A mural is the grid method at full volume. The same technique that maps an 8x10 reference onto a sketchbook page can map a phone snapshot onto a 24-foot wall, and the math is identical. This guide walks through every step of that scale-up: choosing grid density, snapping straight lines on uneven plaster, transferring complex shapes one square at a time, and recovering when the wall fights back.
Why the Grid Method Works for Murals
Painting at wall scale breaks the visual feedback loop that artists rely on. When a face is six feet tall and you stand two feet away, you cannot see the whole subject at once. Tiny errors in proportion become obvious from across the room but invisible from up close. The grid method sidesteps that problem by turning a giant decision (how does the whole composition fit) into a sequence of small ones (what shapes are inside this single square).
Historically, this is how the Sistine Chapel ceiling was transferred from preparatory cartoons to fresh plaster. Michelangelo and his assistants squared up small drawings, scaled the squares onto the ceiling, and pricked or pounced the contours through. Five centuries later, the technique has not changed because the underlying problem has not changed: human vision compares small shapes accurately, and large shapes inaccurately. A grid resets the comparison to a manageable size.
Three properties make the grid method especially well suited to mural work:
- It scales linearly. Doubling the grid size doubles every line and every distance. There is no perspective distortion to correct because the proportions are preserved by construction.
- It is forgiving of interruptions. Murals take days or weeks. You can stop mid-square, come back tomorrow, and resume without losing your place because each cell is self-contained.
- It tolerates surface irregularities. Walls are rarely flat. A grid drawn on the wall flexes around bumps, conduit, and trim while the proportions stay intact.
Materials and Tools You Will Need
A mural project usually needs more equipment than a tabletop drawing. Here is the kit that has covered most jobs we have shipped, organized by stage.
Reference preparation
- A high-resolution reference image (at minimum 2000 pixels on the long edge).
- A printer or our grid overlay tool to add a numbered grid on top of the reference.
- An aspect ratio calculator to confirm the wall and the reference share the same shape before you scale.
- Our mural scaling calculator to turn the reference and wall dimensions into a scale factor, grid square sizes, and exact chalk-line positions.
Wall preparation
- A long straightedge (a 4-foot level works well) and a chalk line.
- A laser level or a plumb line if the wall is taller than 8 feet.
- A soft graphite pencil (HB or 2B) for the wall grid, or low-tack chalk.
- A microfiber cloth for cleaning grid lines off finished sections.
Painting
- Acrylic or latex wall paint in your final palette, plus a thinned wash for the underdrawing.
- Brushes from 1/4 inch (detail) up to 3 inch (fills), plus mini rollers for flat fields.
- A scaffold, ladder, or pole extension that lets you reach the top 18 inches comfortably.
The Scaling Math (No Calculator Needed)
Every grid scale-up reduces to two questions: how many squares do I need, and how big is each square on the wall? You can answer both in under a minute.
Step 1: Match the aspect ratio
Divide the wall width by the wall height. Do the same for the reference. If the two numbers match within a few percent, you can scale directly. If they do not, decide whether to crop the reference or extend the composition with painted background to fill the wall.
Example: a wall is 16 feet wide by 8 feet tall (ratio 2.0). A reference photo is 12 inches by 8 inches (ratio 1.5). The wall is wider per unit of height. Either crop the photo to a 16x8 ratio or plan to add sky and foreground to extend the scene.
Step 2: Pick a grid density
For most mural subjects, 8 to 12 squares across the long edge produces enough resolution without becoming tedious to draw. Add density when you need it: portraits and architectural detail benefit from 16 to 20 columns, while bold abstract or landscape work is fine at 6 to 8.
Step 3: Compute the square size
Once the column count is fixed, the wall square size is just the wall width divided by the column count. For a 16-foot-wide wall at 8 columns, each square is 24 inches across. The reference squares fall out of the same division: 12-inch reference at 8 columns produces 1.5-inch squares.
The scale factor is wall square divided by reference square. In the example, that is 24 / 1.5 = 16x. Every line you draw on the wall is 16 times longer than the corresponding line on the reference. Knowing the scale factor up front lets you spot errors quickly: if a feature looks too small on the wall, measure it and check whether it is 16 times larger than its reference counterpart.
Double-check your numbers in seconds
The math above is all you need on site. If you would rather have it worked out and verified for you, our Mural Scaling Calculator takes the same reference and wall dimensions, confirms the aspect ratios match, and returns the scale factor and wall square size - with Pro adding every chalk-line position and a paint estimate.
Step-by-Step Walkthrough
1. Prepare and gridded reference
Upload your reference to our grid maker, select the column and row count from the math above, enable labels (A1, A2, B1, etc.), and download a high-resolution copy. Print it at the largest size you can comfortably keep on the scaffold. Tape a second copy to a clipboard near the wall so you always have a clean reference.
2. Snap a reference baseline on the wall
Pick a stable horizontal line near eye level (often 4 to 5 feet off the floor). Snap a chalk line and double-check with a level. Every grid measurement will reference this line, so getting it level matters more than any other single decision in the project.
3. Mark the column and row positions
Working from a corner of the wall, mark every column position along the baseline using your computed square size. Then mark every row position up and down from the baseline. Use a laser level or plumb bob to drop verticals; do not trust the corners of the wall to be plumb. They almost never are. If you ran your dimensions through the mural scaling calculator, work from its line-position table instead of measuring cumulatively - each line is listed as a distance from the wall's edge, so a small marking error does not compound across the whole wall.
4. Draw the grid lightly
Connect the marks with a soft pencil and a long straightedge. Press lightly. The goal is a line that you can see from six feet away under good light but that vanishes under one coat of paint. If the wall is dark, use a white charcoal pencil or chalk instead.
5. Block in the underdrawing one square at a time
Start at a top corner and work in reading order. For each cell, glance at the gridded reference, identify the two or three contour lines passing through the square, and replicate them at scale. Resist the urge to detail any single square. The first pass is purely about getting the major contours into the right cells.
6. Refine, then erase the grid
After the underdrawing is complete, step back to a viewing distance equal to about 1.5 times the wall height. Note any proportional issues from the long view (heads slightly too small, hills compressed, and so on) and fix them while the grid is still there to verify. Once the underdrawing reads correctly from across the room, cover the grid with the first paint pass.
Case Study: A 24-Foot Mural
In 2024 we documented an exterior mural project in a community park: a 24-foot-wide by 9-foot-tall landscape with a foreground figure. The reference was a stitched panoramic photo at 6000x2250 pixels. Here is how the numbers played out.
- Aspect ratio check. Wall ratio 24/9 = 2.67. Reference ratio 6000/2250 = 2.67. Exact match, so no cropping was needed.
- Column count. 12 columns chosen because the figure required moderate detail. Each wall column was 24 inches across, each reference column 500 pixels. Scale factor: 48x linear (about 2300x in area).
- Grid setup time. Snapping the baseline, dropping plumb lines, and pencilling the full 12x4 grid took roughly 90 minutes for two people. The first square went on within two hours of starting.
- Underdrawing. Eight working hours on day one, six on day two. Average pace was about three cells per hour for landscape squares and one cell per hour for the figure.
- First proportional check. Stepping back at the end of day two surfaced one repeating error: the horizon line drifted up by about 2 inches across the right third of the wall. We caught it because the grid was still visible. Cost to fix: 20 minutes. Cost if we had missed it until after the first paint pass: most of a day.
This is the most important takeaway from any large project. A grid is not just a transfer aid. It is a measurement instrument that stays on the wall, lets you double-check yourself in real time, and makes proportional drift impossible to hide. Lose the grid too early and you lose the audit trail.
Common Mistakes and How to Avoid Them
- Trusting the corners. Walls in old buildings are rarely square. Always plumb your verticals independently with a level or a laser, never by measuring from the corner.
- Drawing the grid too dark. A heavy pencil line bleeds through one or even two coats of light paint. Test in an inconspicuous corner before gridding the whole wall.
- Skipping the aspect ratio check. If the reference and the wall do not share an aspect ratio, the scale factor is different in each direction and the figure stretches. Always confirm before snapping any chalk lines.
- Working out of order. Hopping around the grid feels efficient but leads to mismatched contours where adjacent squares meet. Stay disciplined about going row by row.
- Detailing too early. The first pass should be contour and value mapping only. Once you start rendering eyes or leaves before the entire underdrawing is in, you cannot use the grid to catch proportional errors anymore.
What to Do After the Grid Comes Off
Once the underdrawing reads correctly from a viewing distance, the grid has done its job. From that point the workflow looks a lot like easel painting: block in flat values, refine edges, build details, and assess from across the room often. A few mural-specific tips for this stage:
- Photograph the wall every two hours and view the photos on your phone. The shrunken view exposes proportional issues that are invisible from the scaffold.
- Keep the gridded reference photo nearby. Even after the wall grid is painted over, you can still measure distances on the reference to check ratios on the wall.
- Save final detail for last. Eyes, signatures, and small text are the only places where freehand precision matters more than grid-driven proportions.
If you want a structured set of warm-up drills before tackling a wall, our grid drawing exercises rehearse the same skills on paper. For the math side, our proportion calculator handles the wall-to-reference ratio for any custom dimensions.
Frequently Asked Questions
How long does a mural take with the grid method versus freehand?
For an experienced muralist, the grid adds 90 minutes to 3 hours of setup and saves 1 to 2 days of corrections. For a first-time muralist, the grid is the difference between finishing and giving up halfway. The added time is more than recovered the first time you catch a proportional drift before paint goes on. See our grid method vs freehand guide for a deeper comparison.
What if my wall has a window, door, or trim cutting through the composition?
Treat obstructions as part of the composition. Snap the grid across the entire wall as if the obstruction were not there, then mark the obstruction outline on top of the grid in a different color. When you paint, simply stop the contours at the obstruction edge. The grid keeps the rest of the proportions intact.
Can I use a projector instead of a grid?
Yes, and many muralists do. A projector is faster for the initial transfer but gives you no measurement tool during painting. Lose your projector setup mid-project (battery dies, room gets too bright) and you cannot verify proportions later. The grid is slower up front but stays useful for the entire project.
Will the grid lines show through the finished paint?
Not if you keep them light and use opaque paint. A graphite line under one coat of acrylic disappears almost always; under thin glazes or pale washes it can ghost through. If you plan to use thin paint, draw the grid in a color that matches the planned wash (light blue under a sky, ochre under a desert) so any ghost lines blend in.
Do I need any of this for a small mural?
For a wall under 4 feet wide most artists can work freehand or with a single horizontal reference line. The grid method becomes essential when the wall exceeds your arm span, when proportions matter (figures, animals, lettering), or when the project will be reviewed by a client who knows the reference well.
Is there a mural grid calculator that does the math for me?
Yes. Our Mural Scaling Calculatortakes your reference and wall dimensions, checks that the aspect ratios match, and returns the scale factor and wall square size for free. Pro adds the exact distance of every chalk line from the wall's edges, a paint quantity estimate, and a downloadable plan you can take to the wall.
Ready to Start Your Mural?
Generate a numbered grid on your reference in seconds with our free grid maker, or skip straight to a printable wall grid with our printable grid tool. If you want a broader primer on the technique before you commit a wall to it, the beginner guide covers the same workflow at sketchbook scale. And when you are ready to mark the wall, the Mural Scaling Calculator turns your measurements into exact line positions and a paint estimate.